Sunday, April 29, 2012

Unnnder Pressure!

Well, yesterday we successfully tackled pressure washing. It felt like such an adult thing to do...pressure wash your house, lol. So happy we did this...really makes the place look so much cleaner. White houses certainly don't hide a thing.

We showed up at Home Depot at 9am to rent the machine and were on it right away since we really wanted to squeeze everything into the 4 hr time frame. The rental fee for the 2000 PSI was either 4 hrs for $53 or 24 hrs for $75. If it were possible, we wanted to save that $22 bucks (which we did!)

So here we go, this is one picture heavy post...


Here's a before of our house... (side note, we bought the house and haven't done a thing to the existing landscaping...so ready to get rid of what I call the gap-toothed bushes on the right, no offense to gap-toothed people out there, just not a fan of our bushes looking like that!)


and after the house got a good cleaning: (hard to tell from far away)


before:


and after: (goodbye green stuff on our siding!)


before:


and after:


mailbox before/after:


Rob getting his pressure washing on...he pretty much did the whole house. He's a pro now. I was the assistant, moving things out the way...quite an esteemed job if I may say so myself. :)


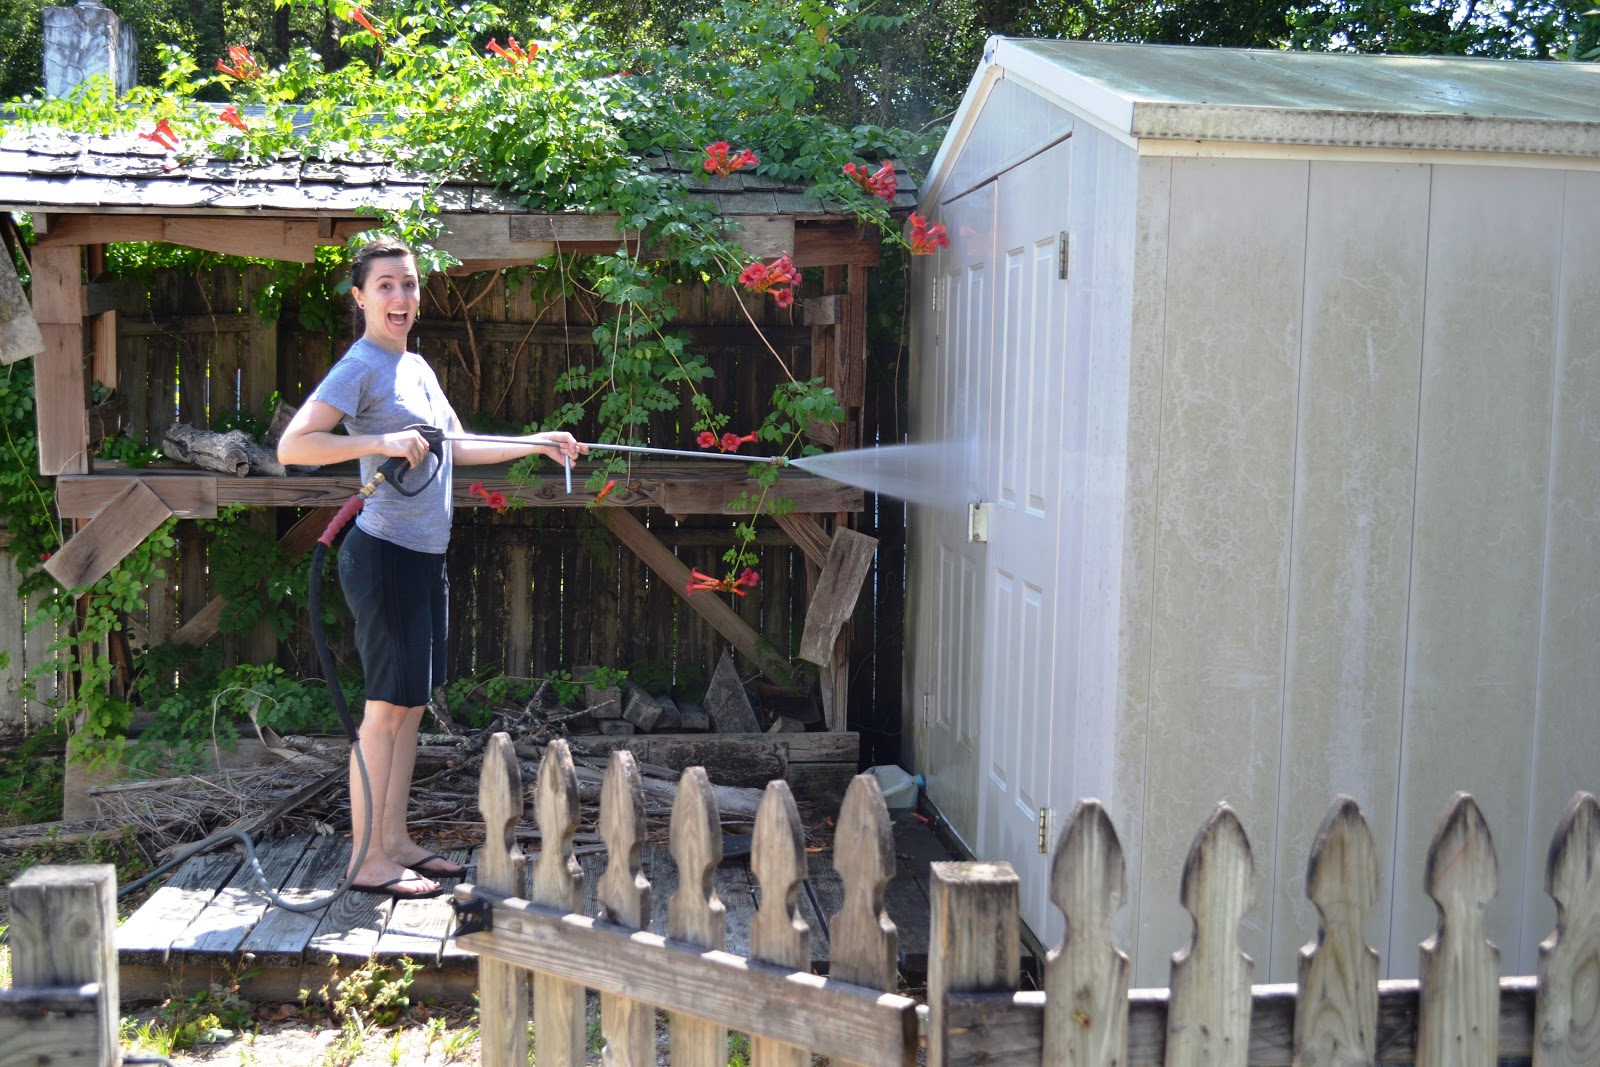
Me getting in on some of the action on our shed...a serious pressure washer...


...and a crazy one!


Rob working on the lanai...


Lanai before: (soooooo dirty)


Lanai after: (not completely dirt stain free, but so much better):


Sweetest picture award goes to Jack watching his daddy pressure wash the lanai: (I'm not sure why I have one flip flop on and one flip flop off)


And to close...Rob wrote our names on the side of the shed. This was the last thing we pressure washed. He didn't mean for it to say "Bob", but that just kind of happened, lol. Worst part is that our pressure washer ran out of gas after he wrote this, and since we wanted to save $22 bucks, we returned it to make the cut-off. So now we have "SA + OB" on our shed. Nice, we'll get to that someday. :)


This was our first time ever pressure washing, and I don't have any lessons learned to really share. It really was pretty easy. I could see the benefit of investing in one of these babies one day. Pressure washing really does some wonders.

Next up, diggin up some bushes! (fun!) Also, our hallway is almost complete, just waiting on one more print to arrive in the mail and still have to hang a special item to complete the collage. So happy that it's almost complete, photos to come!

Happy Sunday, I hope yours has been restful!

Friday, April 27, 2012

The List...dun dun dun...

Lists can be scary. I personally like to make them, and then find that wonderful satisfaction of crossing things off. Lol, I remember a time that I had written a few things down to do on a post-it note, and after I finished those things, I checked them off right before I threw the note in the trash. Weird, like the trash can needed to know I completed a task. :)

I have decided only to make one list at a time for whatever part of the house I want to work on next. (only one list at a time to prevent my brain from getting too far ahead of itself and to not immerse myself with more thoughts...balance is the key, haha, it's like my motto that I have to keep repeating to myself) So without further adieu, I present to you:


Fancy, right? Here is The List  (I'll be sure to keep you posted with before/after pictures of our progress):
  • Pressure wash outside of house, driveways and lanais
  • Dig up existing bushes
  • Landscape front yard
  • Update shutters
  • Update front porch lighting fixture (since the current one is a small indoor fan with a light...bleh)
  • Replace front door (hoping for a good, inexpensive used one)
  • Purchase chairs and table for front porch
  • Purchase outdoor pillows for chairs
  • Place potted plants in front porch to bring some color
  • Paint forest green trim a different color
  • Paint forest green side door a different color
  • Change mailbox (or clean mailbox and paint the forest green post a different color, I think I just sold myself on this cheaper alternative)
(4/30/12 - I had to update the above list after this past weekend...things are moving along!)

This actually doesn't look too overwhelming. It looked a lot longer when written down. So the plan is to start this weekend with the pressure washing. I hear from some people that it actually can be pretty fun because you see the results immediately. Maybe Rob will get the pressure washing fev-ah and go to town. We shall see!

Happy Friday everyone! Oh happy day :)

Wednesday, April 25, 2012

Another Post About Hallway Art??

Someday there will be posts about something other than hallway art. Today, unfortunately, is not that day.

Well, the hallway is coming together. It's gonna be quite hard waiting for these Etsy prints to arrive, so I thought I'd share two more homemade/thrown together art pieces.

This first one is from a stencil from the Stencil 201 book I listed in the previous post. I added the word "write", as this one is for my man as it reflects his love/hate relationship with his amazing novels (I'm not just biased, he's a great writer) that he works on faithfully.


I did this on some old paper I found behind Rob's desk. Yay for free free free!

For those of you who save your birthday/holiday cards, I had this idea to go through my box of cards and see if any could be used as artwork. I found this one below, a Papyrus card from Target, which are always really nice, given to me by my friend. It fit perfectly in my 5x7 frame.


Anyone else out there in the middle of a DIY project that never wants to end? When I get in that zone with anything where I find it hard to break away, I learn that breaks and balance are necessary. Don't wanna lose touch. It can be toooooo easy to get lost in it.

After this hallway project, I see operation Dunkin Curb Appeal in the near future. Ah, how nice that will be...for us and our neighbors. :)

Excited about a free night to spend with my man, no DIY projects allowed!

Happy Wednesday to you all!

Monday, April 23, 2012

Another Burlap Art Piece? Why Not!

Well, with burlap in my house and some leftover canvases, I figured I could save even more money and make another lovely homemade art piece. For this one I didn't take as many pictures, but you'll see how this one got done.

First, using blue painters tape, I taped together three canvases that I already had that fit perfectly into a square-ish.


Just like the burlap monogram letter I did here, I taped out the size of the above canvas on the burlap and created my own stencils out of paper. I also used a reusable stencil from a set I own.


After multiple coats that I worked into the burlap (using leftover paint), I let it dry thoroughly, then took off the tape and nailed it to the back of my taped-together canvases. I should also note that the blue tape did show through, so I wrapped some brown paper to cover that up.


Once again, happy with the result. I think I have officially completed all of my homemade artwork and it feels love-a-ly. After weeks of consideration we found prints on Etsy that we committed to and purchased. So those should be arriving soon.

Also, I wanted to provide links to these wonderful stencil sets if you ever want to purchase. The great thing is that they can be used on the walls, floors, refrigerators, windows, or as art. They're reusable and really durable, you just wash off the paint when you're done with it.

Here's the link for the book of stencils I own, the stencils are about 1'x1': (only $16.47!)

Here's another one of his stencils, these are smaller and can be used for smaller projects ($16.47)
Here's another one, my friend has this one and there's a lot of good ones in here (again $16.47)
Happy stenciling!

Saturday, April 21, 2012

Farewell Brassy Knobs, Farewell...I love to say adieu!

Adieu, adieu, to yieu and yieu and yieu! Do do-do-do-do do do do, do do-do-do-do doooo.

Well the time came to spray my brassy door knobs and I'm pretty happy with the transformation. I also learned a few things that may help anyone who takes on this project in the future. The tutorial that I followed you can find here. Let's get the pictures goin:


This is what our brassy knobs looked like BEFORE:


And here it is AFTER:

The above door jam is a little jacked up as a lot of our doors are...lol, but still much prettier. One day I could see painting the screws even a darker color.

Here are my lessons learned:
  • Multiple light coats of the color are necessary (mine have some waves in them from the gloss, oops!)
  • This project works on doors with locks (for example, the picture above) I was a little worried about how the lock would handle the paint, but after they dried I just turned the lock and thankfully it worked just fine. Again...light coats are the key.
  • I wonder if I would have liked a matt finish instead of the gloss, however the gloss really brings out the bronzy sparkles in the paint color. So I'm sticking with the gloss, which I do like, and there's also no way I'm spraying these babies all over again.
What I used:

And clear gloss spray paint as well. This project was a little more time consuming due to taking off all the hardware and prepping it outside and spraying takes multiple coats as mentioned. Drying time must be allowed. After all the coats and gloss, I allowed 24 hours of drying before putting them back on our doors.

Again, happy with the results...but phew...losing momentum with these projects. Feeling a little break will be nice once this hallway is complete.

Had a great day from a walk for autism (go Aidric's Angels!) in the morning, to spending time with some dear friends, to a special birthday party with family for my daddy. Happy birthday, papa Joe!! <3

Happy Saturday evening to you all!

Tuesday, April 17, 2012

DIY Burlap Letter Art

So with the hallway project underway, artwork is the current project. While browsing Etsy to look for prints, I instead received some inspiration for some DIY art. I found this print online and fell for it...I'm a sucker for the natural look of burlap. However, I had the classic thought of "I can do that" (however, I'm still a supporter of the artists on Etsy and have purchased a number of prints/items that I loooove) I found out my mother, whom I've learned I should always check with whenever there is a random need for something, had leftover burlap in her garage. Sweet!

So here's what was needed:
  • Homemade paper stencil
  • Burlap
  • Scissors
  • Painters tape
  • Black paint
  • Paintbrush

All stuff that I already had. Making this one freeeeee project. Yay. 

Here's a photo tutorial of my version of this print (sorry for all the varying colors/contrast in the photos...you get the gist):

So it all started with a print I made in Publisher...just a circle with a letter in it. I printed it on regular paper, since cardstock was not available.


Then I carefully cut the circle and around the letter. This part took a bit of patience, but notice I kept the "d" attached by a small strip that I didn't cut away.


On the burlap, I took an 8x10 frame and taped around it to map out the size of my art.


Then I centered my paper stencil and tape it on there...


Filling in the open space took a little bit of skill. I used a flat small paint brush.  When it came to the edges, I just made sure not to have too much paint on the brush, and I would also push down on my paper stencil to be a sharper edge. Surprisingly the paper would take some of the excess paint that may have gone over on the edges. 


Removed the stencil, now just going to fill in the rest by hand...


Ta-da!


Then just used the green tape as the guide as to where to cut...


And now framed all pretty in the lovely goodwill frame...


After creating my template in publisher, it took me about an hour to complete this from start to finish. Probably could've been quicker, but I can be particular. Overall, I'm so happy with it. Perfect addition to our hallway.

Doorknob upgrade using spray paint is coming soon as well. I'm so thankful to have gained the knowledge (from fellow blogs and Pinterest) of simple, cost effective ideas for sprucing up your house and making it more your own. It really pushes me to think outside of the box and stretch my lil creative wings.

Happy Tuesday evening!

Friday, April 13, 2012

Spray Paint Reality And Our Boy...

So I wanted to share a before and after of the frames that I spray painted white. My first mistake? Being oh so naive to think that only one can of primer and one can of white gloss spray paint would be enough. Anyone else hate taking that second (and sometimes third) trip back to Home Depot? (even though it's less than 2 1/2 miles from our house)

Here's the BEFORE notice the one can of primer and one can of white gloss spray paint and the random mismatched frames:


After a little sanding on the frames, and about 2-3 coats of paint, finished with a gloss, here's the AFTER...notice the now 5 cans of spray paint/primer/gloss (Home Depot was out of gloss white, and I can be impatient, so I bought semi-gloss and then a separate can of clear gloss):


I'm very happy with the final product...if I was more patient (I'm working on this) I would buy another can of clear gloss and spray them again. Pictures of the finished hallway will be coming soon!

And now some sweet/nauseating pictures (depending on how you feel about animals) of me and my boy. For those who know me, love didn't come easy with this boy. However, as he sleeps cuddled next to me on the floor while I type this, I see that we've come a looooooong way. I love my Jack! This pleases Rob very much. :)


Happy weekend to you all! For all of those that feel like they have billions of projects looming over your head, may you find the motivation/momentum to keep going as well as the wisdom to know when to stop and take a break and enjoy life (if only there was a button to turn off our minds sometimes).

Nighty night!

Monday, April 9, 2012

Oh What A Little Paint Will Do

While the hallway project is coming along, I thought I'd share some pictures of a home who I assisted with picking out paint colors and window treatments. I'm a doof and forgot to take before pictures. So just imagine the walls used to be a yellowish color that blended in with the tile, and the ceiling was all white, including the beams. Such a huge upgrade and warms up this great room perfectly.


Pictures and an update on my hallway project to come, currently browsing Etsy for some sweet prints. With Rob's input, there will sure to be some ships, whales, dragons and squid prints! Lol, gotta love it.

Happy new week to you all!

Friday, April 6, 2012

Goodwillin It

Due to some recent inspiration, I've been working on our hallway. Gathering frames from around the house for a collage and using some leftover paint to sharpen the space up. (a post of before and after are soon to come) However, THIS post is about two finds that cost me just over $3 at Goodwill. Mmm...Goodwill and I have been reunited and couldn't be happier. So I'm on the hunt for frames and random knickknacks that I can hang in our collage. I found these two items, one for the hallway and one not so much for the hallway, but it inspired a brief spurt of organization.

Non-hallway related Goodwill find - I found this little crate...cute condition only $1.06. I'm one of those that doesn't really buy anything unless I can think of a use for it. (yes, even if it's $1.06)  So I forced my brain to think what the heck I could use it for, and it dawned on me. I thought of all of our boxes of fruit/energy bars and other snacks and how they crowd the crap out of our kitchen cabinet. So that's where I went with it and I am pretty pleased with this little mini-transformation. Lol, it's the small things. And it wasn't much work at all!


So here is a BEFORE of our one and only food cabinet. Granted there was some old stuff in there that was able to be thrown. Mainly focus on the bottom right corner...kind of crowded with snack boxes:


And here's the AFTER with the new (to us) crate/snackie organizer:


Is it weird that now it makes me want to eat these fruit bars more? Here's another close up:


I'm seeing one day painting that square with some chalkboard paint and writing "snack attack" on it. Did I mention that I just spray painted and breathed a lot of fumes? Eek.

And now to the hallway related Goodwill find - this lovely frame just needs a fresh coat of white. Again just over $1. Yay oh yay.


Well, I'm off for some cuddle time with my man...and to rest my sore muscles from all that strenuous spray painting.

Happy Friday to all and to all a good night, and a blessed weekend!

LinkWithin

Related Posts Plugin for WordPress, Blogger...